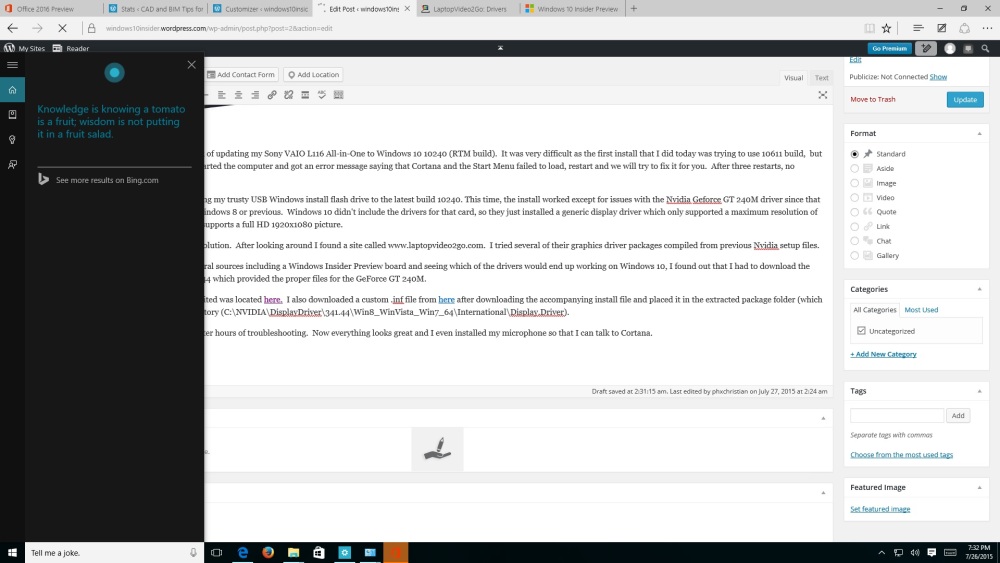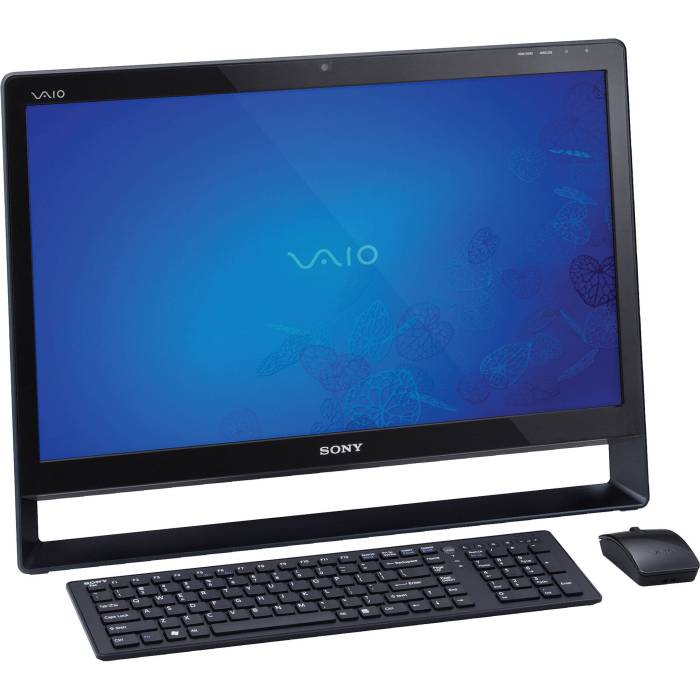
Well, today, I began the task of updating my Sony VAIO L116 All-in-One to Windows 10 10240 (RTM build). It was very difficult as the first install that I did today was trying to use the flash drive with the 10166 build on it, but it never completed, so I force-restarted the computer and got an error message saying that Cortana and the Start Menu failed to load, restart and we will try to fix it for you. After three restarts, there were no changes.
So I then went about updating my trusty USB Windows install flash drive to the latest build 10240 using this method:
Plug in the USB drive, and follow the next steps to make a bootable Windows 10 USB media:
- Open a Command Prompt window. To do this, trigger Run (Windows key + R will do the trick, or you can find it in the Start menu), type “cmd” and then hit the OK button.
- Use the “diskpart” command to open the disk partitioning software. Validate the UAC prompt, if asked, to carry on.
- Use the “list disk” command to reveal the list of attached physical storage media. This will show all the HDDs, SSDs, USB drives and so on.
- Identify the disk number of the USB drive you are using for this process (look at the size column for easy identification; based on my experience, it is usually listed last).
- Use the “select disk X” command to select it, where “X” is the disk number of your USB drive.
- Use the “clean” command to erase the contents of the USB drive.
- Use the “create partition primary” command to create a primary partition on the USB drive.
- Use the “select partition 1” command to select the previously created partition.
- Use the “active” command to make said partition appear active, or validated.
- Use the “format fs=ntfs quick” command to format the said partition as NTFS, using the Quick routine.
- Use the “assign” command to assign a drive letter to the USB drive. Afterwards, it will show up as a drive under My Computer.
- Copy the extracted contents of the Windows 10 ISO to the USB drive
This time, the install worked except for some major issues with the Nvidia Geforce GT 240M driver since that had been only compatible with Windows 8 or previous versions. Windows 10 did not include the drivers for that card, so they just installed a generic display driver which only supported a maximum resolution of 1600×900 even though the VAIO L116 screen supports a full 1920×1080 HD picture.
Installing the Graphics Card
I spent many hours today looking for a solution. After looking around I found a site called Laptop Video 2 Go. I tried several of their graphics driver packages compiled from previous Nvidia setup file releases.
Finally after looking on several sources including a Windows Insider Preview board and seeing which of the drivers would end up working on Windows 10, I found out that I had to download the Nvidia release package 341.74 which provided the proper files for the GeForce GT 240M card (which actually is an old laptop card, not a desktop card, so that threw me off a little).
Kudos to Darren_CP on Sony’s support forums for providing the initial how-to, which I tweaked to suit my own device. The procedure went a bit like this;
Download the latest nVidia drivers direct from the nVidia website (Windows 10 is minimally supported)
Attempt installation of nVidia drivers. As expected, the installation will fail and inform you that no compatible hardware was found. However, the installation will extract installation files to the C:\NVIDIA folder
Select and modify INF file for your hardware
This is the tricky bit ! Look up your hardware information in device manager. Open device manager, open display adapters. Double click to open the “Microsoft Display Adapter”. Click on the details tab, and select the “hardware Ids” property. Take note of your DEV and SUBSYS.
In the case of my NVIDIA GeForce GT 240M, the value was:
“PCI\VEN_10DE&DEV_0A34&SUBSYS_9060104D&REV_A1”.
Now go to the “C:\NVIDIA\DisplayDriver\341.74\Win8_WinVista_Win7_64\International\Display.Driver” folder. Pick an .inf file. I selected “nvdispi.inf’ as some of the hardware here closely matched my hardware. Make a copy of this file, then open it using notepad. Scroll down to the section headed with:
[NVIDIA_SetA_Devices.NTamd64.6.0]
%NVIDIA_DEV.0405.011D.1025% = Section001, PCI\VEN_10DE&DEV_0405&SUBSYS_011D1025
Now scroll further and try and locate an entry with the same DEV as your hardware. Copy this line and paste it to a new line below. Adjust the line so that it matches your hardware DEV and SUBSYS. For my NVIDIA GeForce GT 240M, I added the following entry %NVIDIA_DEV.0A34.9060.104D% = Section012, PCI\VEN_10DE&DEV_0A34&SUBSYS_9060104D.
I also added the same entry to:
[NVIDIA_SetA_Devices.NTamd64.6.1], [NVIDIA_SetA_Devices.NTamd64.6.2] and so on. I’m sure that 6.3 is really needed for Windows 10, so you can stop there or add it to all headings. Now scroll down to the section headed with:
[Strings] DiskID1 = “NVIDIA Windows (64 bit) Driver Library Installation Disk 1”.
Find a line that matches your hardware. Copy and paste this entry to a new line. For my GeForce GT 240M, I added the line:
NVIDIA_DEV.0A34.9060.104D = “NVIDIA GeForce GT 240M”.
Save the file. Then copy it over the original inf that you originally copied. This change will break the digital signature of the driver installation, and cause the drivers to now be unsigned.
Allow use of unsigned drivers
Open a command prompt as administrator. Enter the following commands:
BCDEDIT /Set LoadOptions DDISABLE_INTEGRITY_CHECKS
BCDEDIT /Set TESTSIGNING ON
Restart the computer. Go to “C:\NVIDIA\DisplayDriver\341.74\Win8_WinVista_Win7_64\International\Display.Driver” and run setup again. The installation should now complete successfully. You may now want to turn test signing back off again by opening another administrator command prompt window and entering the following command:
BCDEDIT /Set TESTSIGNING OFF
Good luck out there !!! I hope this saves somebody the time and immense frustration i faced having to overcome this potentially needless problem.
The install finally worked. Everything now looks great and works great. I even have installed my USB microphone so that I can talk to Cortana. Now on to making sure everything else I need installed works.